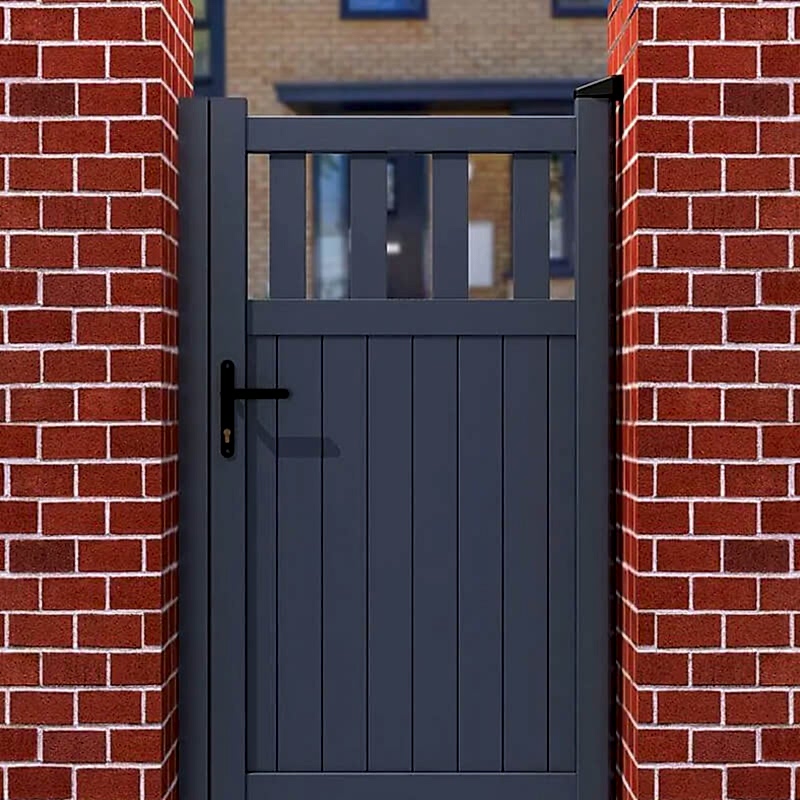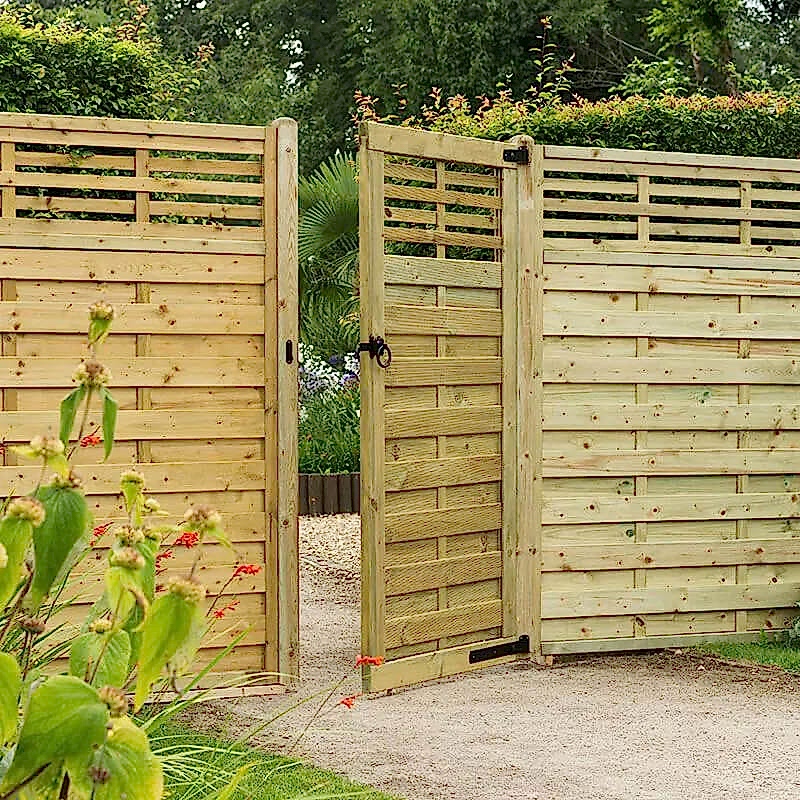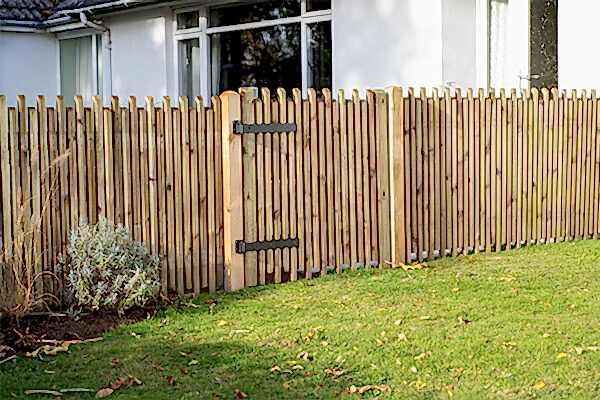
3ft High Forest Contemporary Picket Gate - Click HERE to View
Go for chunky, solid, well-made gates for years of easy access.
Never skimp when buying your garden gate as it is the one piece of the garden that potentially is being opened, shut, slammed and swung on for years. Quality is the key to a successful gate. Installation is also important, so read on as we provide everything you need to know about how to fit a garden gate.
Editor’s Note [05.09.2024]:
Our article “How to Fit a Garden Gate” was originally published on August 11th, 2016. Today we have made changes throughout the guide as well as added several new sections. These include expanding the “how to fit a garden gate” guide to nine steps.
Choosing the right gate
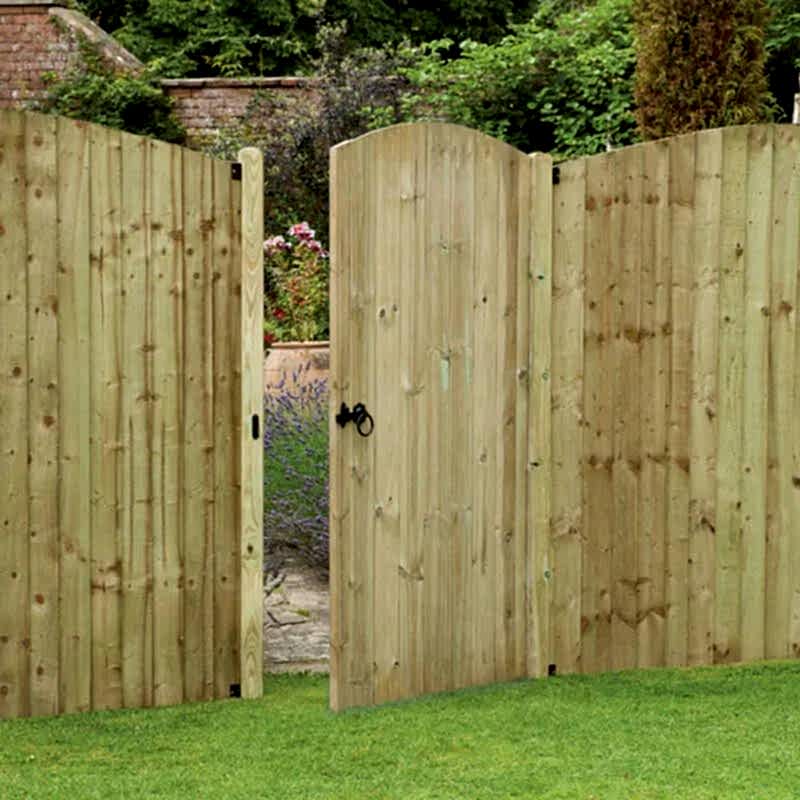
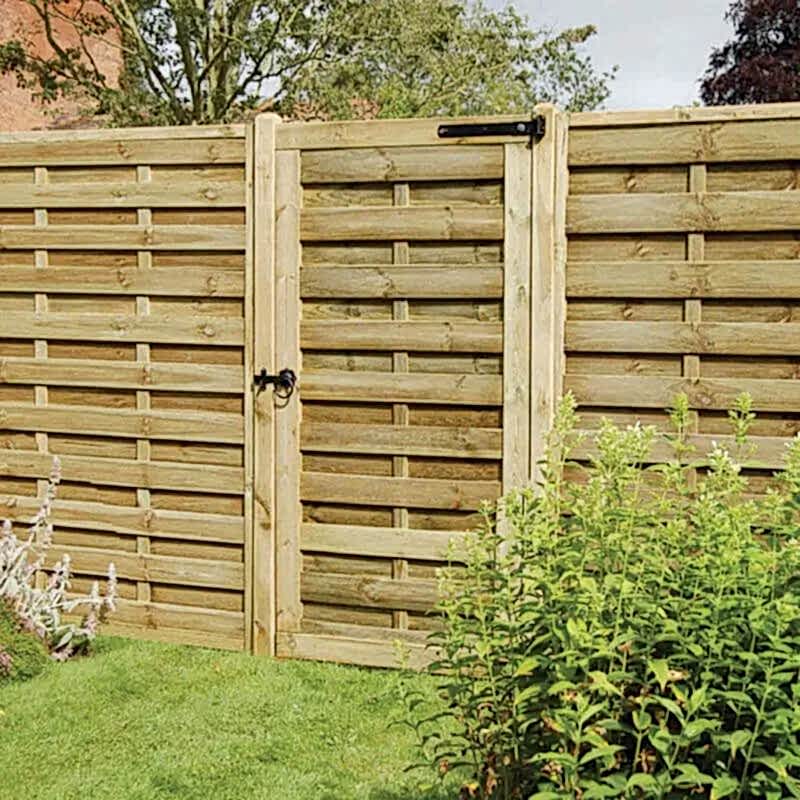
If you are buying a brand new gate, choose carefully to ensure it matches existing fencing or property. The 5-bar gate is a classic gate and well suited to estates, large driveways and country-style properties.
Side gates
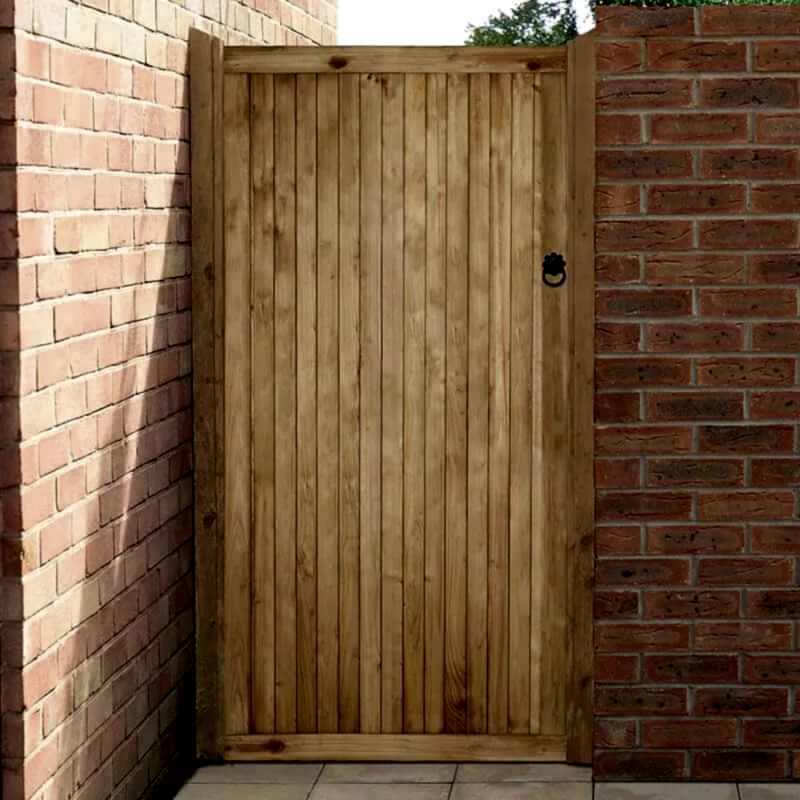
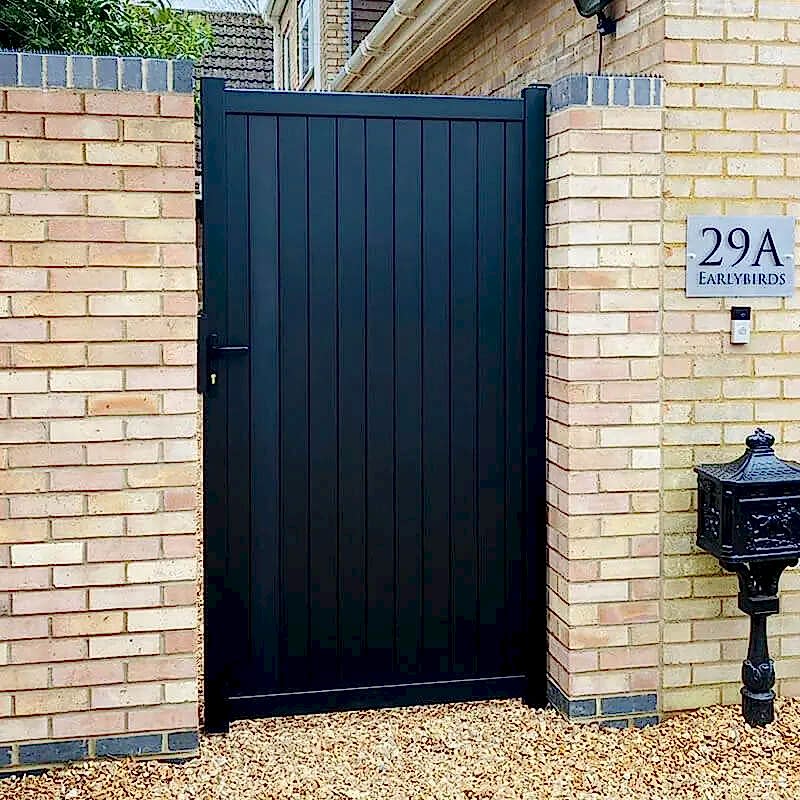
Side gates are usually solid, tall and capable of stopping anyone scaling them. Security is often a reason for a gate in the first place. Wooden gates should always be pressure treated to prevent rotting for at least 15 years and all metal fittings and screws should be galvanised to prevent unsightly and corrosive rusty marks.
Styles and sizes to consider
Such garden gates come in a variety of sizes and shapes, and the choice is endless if you include bespoke gates. There are standard sizes of garden gates available and if you are simply buying new then great – just base your choice on style and quality. If, however, you are replacing an existing gate that has rotted or worn out, then do measure carefully. Older gates may have been made to an older specification, or even made to measure, so never assume a new gate will slip into an old space. When measuring, use both metric and imperial systems. This saves any possible mistakes when converting your hastily scribbled notes when at the retailer or online.
Gate installation considerations
Gates are usually screwed to a post which in turn is bolted to a wall. That's the ideal – solid and built to last. Always check posts are in good condition before screwing on your new gate. You wouldn't build a wall on shaky foundations, so don't do it with your gate.
How to fit a garden gate
Read our nine steps below to learn how to fit a garden gate.
1) Planning your gate installation
Pick a dry day with low wind to make the gate installation easier. A spirit level is, of course, essential and I do like to rope in a friend to help.
Tools and materials needed
This is the perfect stage to assemble all the tools and materials you will need.
Tools
The following tools are all needed to install a garden gate:
- Chisel
- Drill
- Hammer
- Measuring Tape
- Pencil
- Screwdriver
- Spirit level or electronic level
- Spade and/or fence gate post hole digger
- Tape measure
Consumables and materials
Most of the following will be needed. It is advisable to wait until you receive your gate as some of these may be supplied in your purchase:
- Bolts
- Cement (for concrete)
- Decorative elements and accessories
- Gate
- Gravel
- Heavy-duty fixings
- Hinges
- Latches and locks
- Nails
- Paint
- Rust-resistant coating (for metal gates)
- Sand
- Sandpaper
- Screws
- Wood preservative
- Wood stain
2) Assessing your garden layout and requirements
Although a formal plan might be a little elaborate, you do need to understand your requirements. You will already have chosen your gate, but now pick the optimum place to install it and ensure your measurements are accurate.
3) Preparing the site
Before you install the gate posts you will need to clear the area of any debris, dirt, rubbish, stones, etc. At this stage mark out the exact position for your gate posts. Check with a spirit level that the ground is level and make any adjustments where necessary.
4) Installing the gate posts
Posts should be bigger for larger gates – a big 5-bar gate is heavy and will easily rip out dingy fixings from rotten posts. The correct depth for fence gate post holes is typically a third to half the height of the gate post above ground, with a minimum depth of 600 mm (2 feet) for stability. This ensures the posts are securely anchored to withstand the weight and movement of the gate.
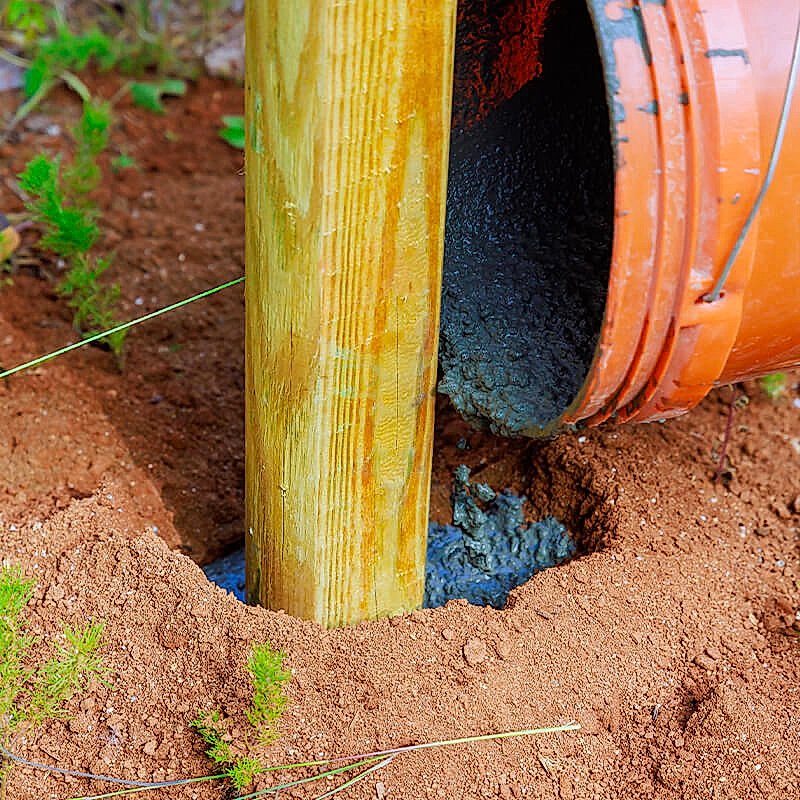
I like to set the posts in concrete, sloping the top of the concrete away from the base of the post to prevent water puddling which increases the chances of rotting.
It's a good idea to allow all concreted posts to set for a week or so (so they can 'go off') before installing the gate frame. Gates are heavy – as you will find out when trying to manipulate one into place! Posts can be bolted into walls but again, use quality, heavy-duty fixings. As always with every task, ensure the posts and gate frame are level and aligned before letting them set.

5) Attaching gate hinges
Choosing the right type of garden gate hinges is important to ensure proper support, smooth operation and longevity. These are frequently supplied with your gate purchase though, by many garden gate manufacturers.
First, position and mark (with a pencil) hinge placements on both the gate frame and posts. You can then secure the hinges to the gate and posts.
6) Hanging the gate
To hang the gate, lift it into place and align it with the posts. Once aligned, attach the gate to the hinges securely. After attaching, check the gate for smooth opening and closing to ensure proper functionality. Make any necessary adjustments to achieve a perfect fit.
7) Installing gate latches and locks
You will have previously selected suitable latches and locks for security. You can now position these and mark the latch and lock placements on both the gate and posts. Then you need to drill pilot holes at the marked points for screw insertion. Use your screws to attach the latches and locks securely, ensuring they are aligned properly for smooth operation.
8) Adding finishing touches
With all the effort you have gone to, now is the time to add the finishing touches.
Wooden gates finishing
Sand down the gate to remove any rough patches. Then paint or stain the wooden gate for both long-term protection and aesthetic appeal.
Metal gates finishing
Applying a rust-resistant coating to metal gates, which will be the colour of your choice.
Decorative elements
Add decorative elements (e.g. finials, ornamental ironwork, scrolls) and accessories as required to either wooden or metal gates. If you are feeling particularly adventurous, you could even add a carving to a wooden gate.
9) Adjusting and testing
Once your gate, or the first gate of the pair is fitted, ensure it is in good working order. Clearance should be good, allowing an unimpeded, smooth operation. If all is OK get those other screws in before the gate starts its lifetime of hard work. Finish it all off by fitting a quality, galvanised latch and away you go....one perfectly fitted gate.
How to install a garden gate: top tips
Here are ten essential tips for how to install a garden gate:
- Final checks – check everything is in working order before fitting latches and catches
- Gate orientation – ensure your gate is the right way round, with the flat, finished face usually facing outwards and the supports on the inside
- Get help – all gates, even the smallest, are awkward to handle, manoeuvre and fix when working alone
- Hinge positioning – we recommend positioning the hinges slightly lower than halfway up the gate. This ensures improved weight distribution and prevents sagging
- Levelness – get things level and in line for a perfect finish
- Metal treatment – all metal should be lacquered and galvanised to prevent rusting
- Never skimp on quality – a gate is a hard-working member of your garden team
- Pre-drill holes – it is better to pre-drill holes for screws in advance, this prevents wood from splintering
- Proper drainage – ensure the ground around the gate posts has proper drainage to prevent water damage and post-rot
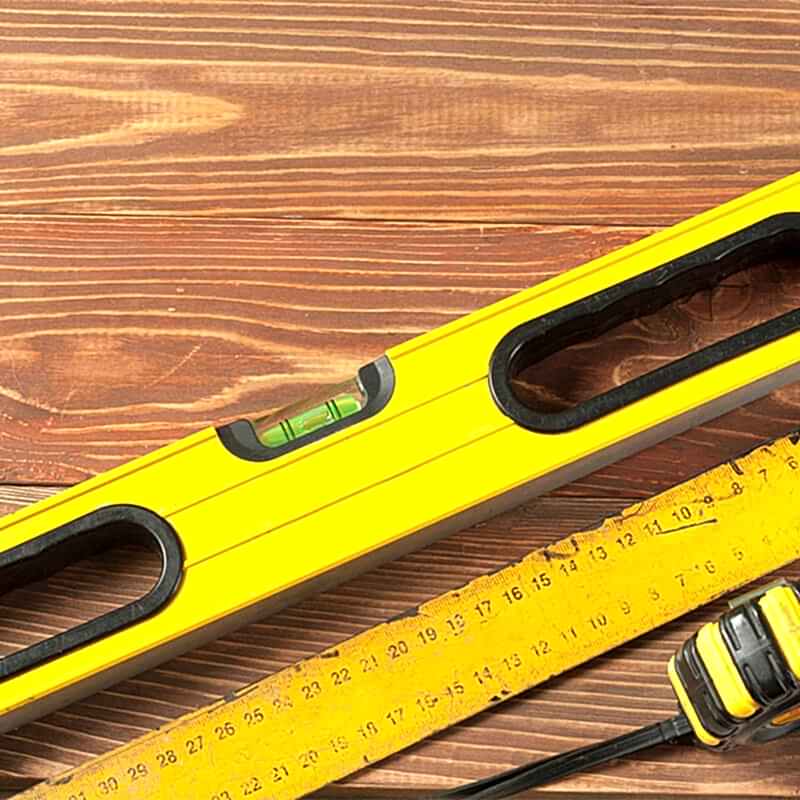
- Spirit levels are a must – never trust your eye!

Conclusion
Choosing the right gate is all important, so why not browse through our selection of gates to start your process? Follow our nine steps to learn how to fit a garden gate, which is easily digestible. Our ten tips are then provided, we highly recommend you read through these as they are the stepstones to success!
Contact us
Now you have learned how to install a garden gate, you may now be looking to buy one. Here at Buy Fencing Direct we have an extensive selection of garden gates for sale. Why not contact us in these ways to discuss which gate might be best for you?
- Phone calls – call us at 0333 003 0515
- E-mails – use our contact form to send structured emails
- Text chat - our live chat app enables you to message and chat with us in real-time, this can be accessed at the bottom left of the screen


